
Top 10 Tips and Tricks to Get that Perfect Vocal Take!
If you’re a musician looking to record your own vocals from the comfort of your own home, you’re in luck! This blog post has got you covered with some terrific tips to help you achieve the best sound quality and performance from your microphone and software. I’ve compiled a list of the top 10 things you should focus on to get a good vocal into your DAW (digital audio workstation). With these tips and tricks, you can achieve professional results with minimal equipment and budget. So, get ready to cut that Adele or Steve Perry (good luck) cover like a pro!

Here are the 10 things you need to focus on:
1. Choose the right microphone for your voice and genre. Many types of microphones are available, but not all are suitable for vocals. You need to consider factors such as the frequency response, polar pattern, sensitivity, and output level of the microphone, as well as your own vocal style and the genre of music you are making. For example, if you have a bright and airy voice, use a condenser microphone with a large diaphragm and a cardioid pattern, which will capture the details and nuances of your voice. Suppose you have a warm and rich voice. In that case, you should use a dynamic microphone with a small diaphragm and a super-cardioid pattern, which will reject unwanted noise and feedback.
2. Set up your recording space properly. The quality of your vocal recording depends largely on the acoustics of your room. You want to avoid reflections, echoes, and background noise that can ruin your vocal take. To do this, you should treat your space with acoustic materials, such as foam panels, blankets, or curtains, that absorb or diffuse the sound waves. You must also isolate yourself from external noise sources like traffic, neighbors, or pets. You can use headphones or earbuds to monitor your vocals while recording or a closed-back headphone that will block out ambient noise. Plugins such as IK Multimedia’s ARC System 3 will take care of your room acoustics through microphone calibration and other sorcery:) and allow you to mix in an almost perfect room.
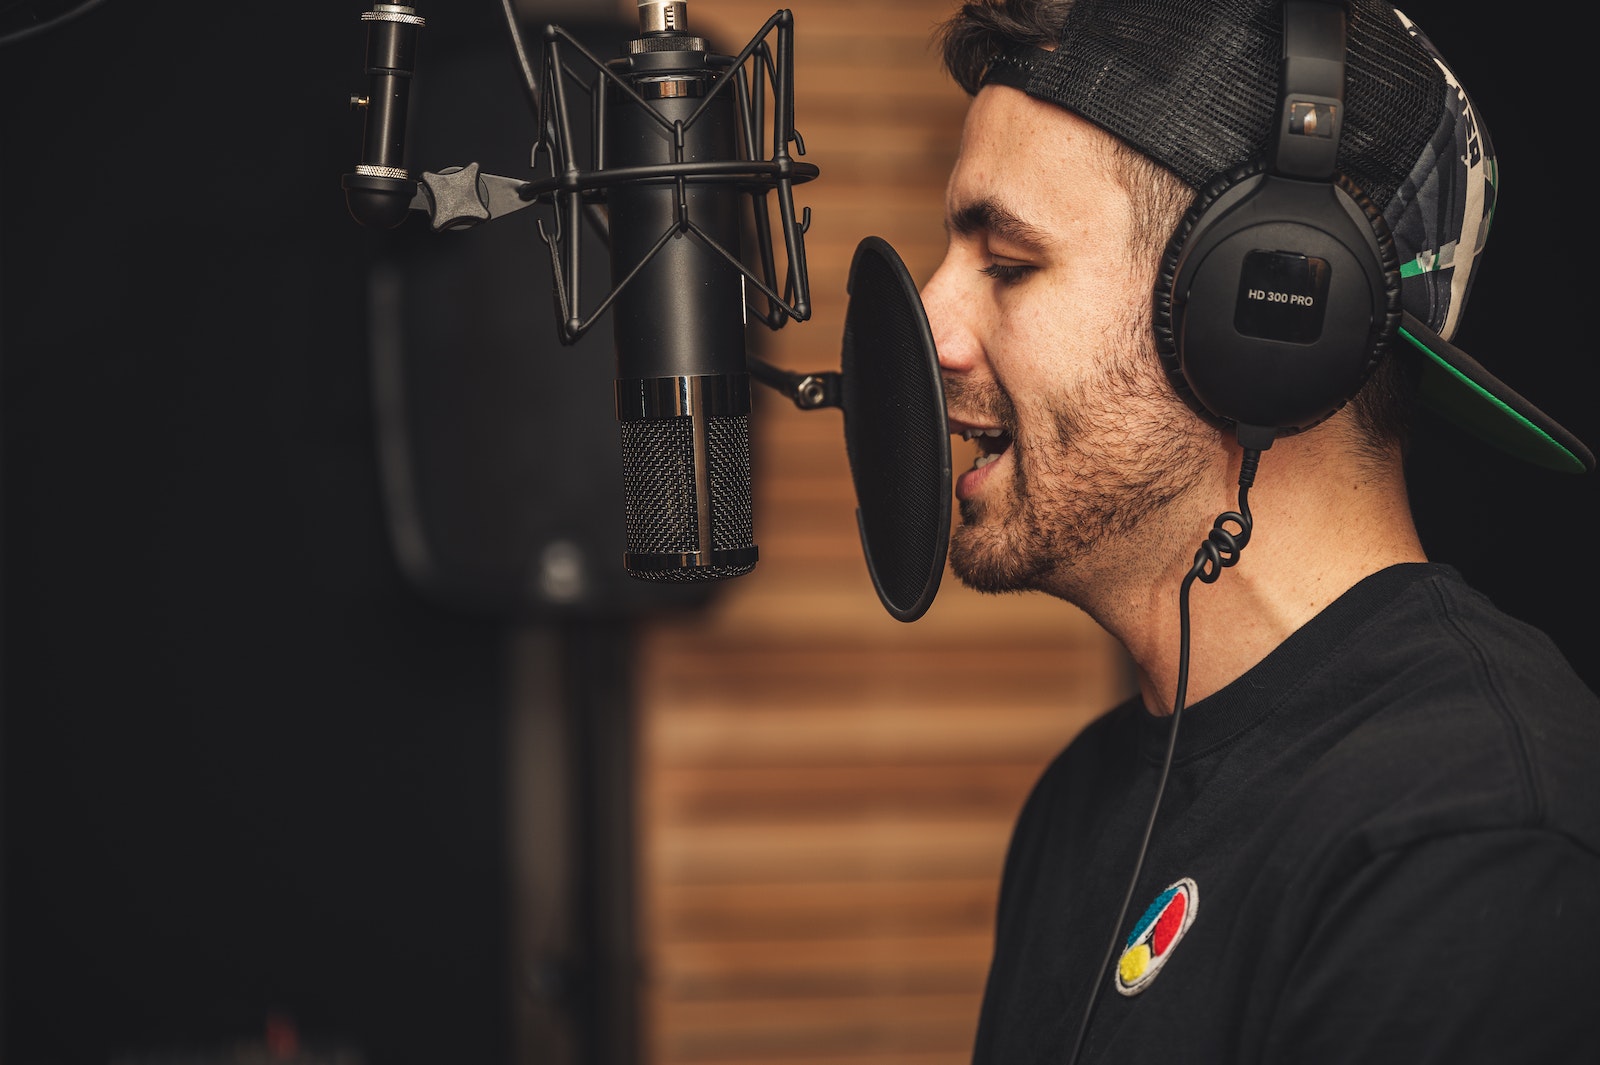
3. Position yourself and the microphone correctly. The distance and angle between you and the microphone can make a big difference in how your vocal sounds. You want to find the sweet spot where your voice sounds balanced and natural without being too loud or quiet, too bright or dull, too close or too far. A good rule of thumb is to place the microphone about 6 inches away from your mouth, slightly above your mouth level, and tilted somewhat towards your nose. This will help you avoid popping sounds from your plosives (such as P’s and B’s), sibilance from your fricatives (such as S’s and F’s), and breathiness from your aspirates (such as H’s).
4. Use a pop filter and a shock mount. A pop filter is a mesh screen that goes in front of the microphone and reduces the impact of air blasts from your mouth. A shock mount is a device that suspends the microphone from a stand and absorbs vibrations from the floor or the desk. These two accessories are essential for preventing unwanted noises and distortions in your vocal recording. They will also protect your microphone from saliva and moisture that can damage it over time.

5. Check your levels and gain staging. Before you hit record, you must ensure your vocal signal is loud enough but not clipping or distorting. You can use a level meter on your DAW or audio interface to monitor the input level of your microphone. You want to aim for an average level of around -18 dBFS (decibels full scale), with occasional peaks of up to -12 dBFS. Logic Pro X has a meter available for this, as do many other DAWs. This will give you enough headroom for processing and mixing later on. You also need to adjust the gain knob on your audio interface or preamp to set the optimal level for your microphone. You want to avoid turning it up too high or too low, as this can introduce noise or reduce the dynamic range of your vocal.
6. Record multiple takes and comp them together. You can rarely nail a perfect vocal performance in one take. You might make mistakes, forget lyrics, lose pitch or timing, or simply run out of breath. That’s why recording multiple takes of the same part is advisable, and then choosing the best bits from each take to create a composite take (or comp). This will allow you to fix any errors and inconsistencies in your vocal and add some variety and expression to it.
7. Edit your vocal carefully. Once you have recorded and comped your vocal, you need to edit it to make it sound smooth and polished. You can use various tools in your DAW to trim, fade, crossfade, cut, copy, paste, move, align, quantize, pitch correct, time stretch, or warp your vocal as needed. You want to remove unwanted noises from your vocal track, such as clicks, pops, breaths, coughs, or hums. You also want to fix any timing or pitch issues that affect your vocal’s groove or harmony. You can use a tuner or a pitch correction plugin to adjust your vocal’s pitch manually or automatically. You can also use a time correction plugin to align your vocal to your project’s tempo and grid, either by snapping it to the nearest beat or by using a groove template.
8. Process your vocal with effects. After editing your vocal, you need to process it with some effects to enhance its sound and fit it into the mix. You can use various plugins in your DAW to apply effects such as EQ, compression, reverb, delay, chorus, flanger, phaser, distortion, or saturation to your vocal. Plugins like Izotope’s Nectar can help you achieve professional results with minimal fuss. Of course, this comes at an extra expense rather than using stock plugins. The advantage is that everything is right at your fingertips. I really like the plugin, but there are others as well. Either way, you want to use these effects sparingly and tastefully, as they can easily overpower or ruin your vocal if used excessively or incorrectly. You also want to use them in the correct order and balance them with the dry signal of your vocal. A typical vocal effects chain is:
- EQ: to shape the tone and frequency balance of your vocal by cutting out unwanted frequencies and boosting desired frequencies.
- Compression: to control your vocal’s dynamic range and volume level by reducing the peaks and bringing up the valleys.
- Reverb: to add some ambiance and space to your vocal by simulating the sound of a room or a hall.
- Delay: to add some depth and movement to your vocal by creating echoes or repetitions of your vocal.
- Modulation: add some color and character to your vocal by modulating the pitch or phase.
- Distortion: to add some grit and edge to your vocal by clipping or saturating the signal of your vocal.

9. Automate your vocal parameters. Automation is a technique that allows you to change the settings of any parameter in your DAW over time. You can use automation to create dynamic changes and variations in your vocal track, such as volume, pan, mute, solo, send, or effect parameters. You can use automation to adjust the level of your vocal in different sections of the song, such as verse, chorus, bridge, etc. You can also use automation to create special effects such as fades, sweeps, drops, stutters, glitches, etc.
10. Mix your vocal with the rest of the tracks. The final step is to blend your vocal with the other instruments and sounds in your project. You need to balance the volume, pan, EQ, compression, reverb, delay, and other effects of each track to sound cohesive and harmonious. You also need to create contrast and separation between the tracks so they don’t clash or mask each other. You can use techniques such as panning, EQing, compression, sidechaining, ducking, or parallel processing to achieve this.
Conclusion
And that’s it! These are the top 10 things you must focus on when getting a good vocal into your DAW of choice. Most DAWs come with vocal plugins or channel strips that provide a starting point from which to work. I hope you found this blog post helpful and informative. If you have any questions or comments, please leave them below. And if you liked this post, please share it with your friends and fellow musicians. Thank you for reading, and happy recording!


